ArcGIS Pro for Students or personal machines
This article provides instructions on how to download and install ArcGIS Pro on a personal PC computer
System Requirements can be found from this link: ArcGIS Pro 3.3 system requirements
For a new Install of ArcGIS Pro follow the steps below, if you are renewing the license on an existing installation run the The ArcGIS Software authorization Wizard and start from Step 11
Step 1: Download ArcGIS Pro 3.3 from ArcGISPro_33_190016.exe
You May also need Microsoft .NET 6 runtime if it is not already installed on your computer, it can be downloaded from https://dotnet.microsoft.com/en-us/download/dotnet/thank-you/runtime-desktop-6.0.25-windows-x64-installer
Step 2. Once downloaded run the file "ArcGISPro_33_190016.exe" This will ask you for a destination folder to extract the installer files too, click next to continue.
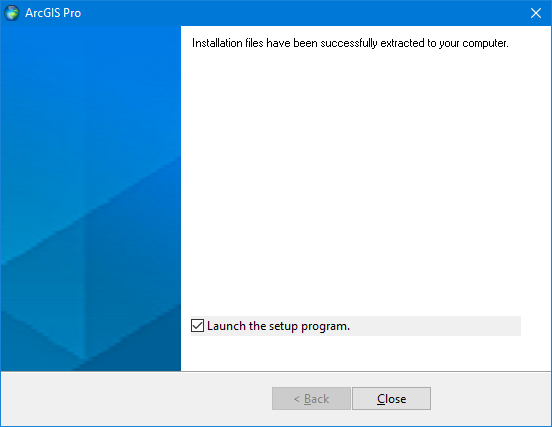
Step 3. Once the installer files are extracted select close to launch the setup program
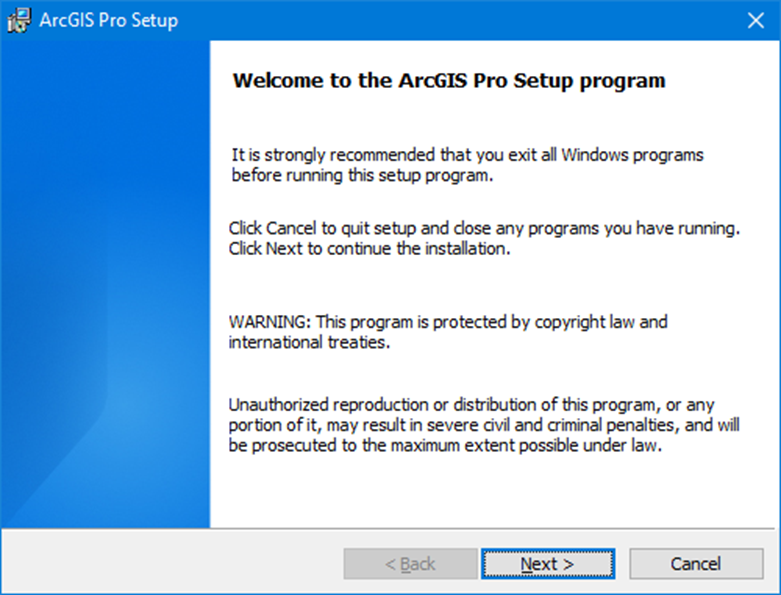
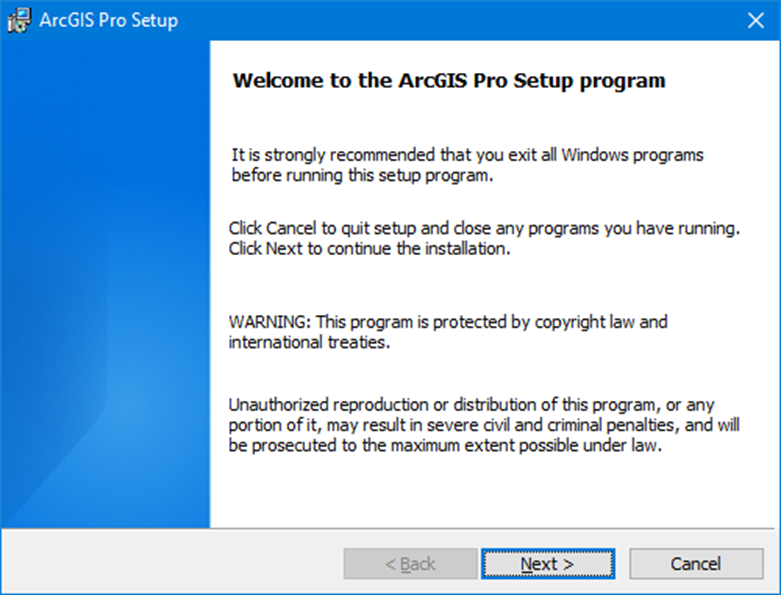
Step 4. At the Welcome screen, click Next to continue.
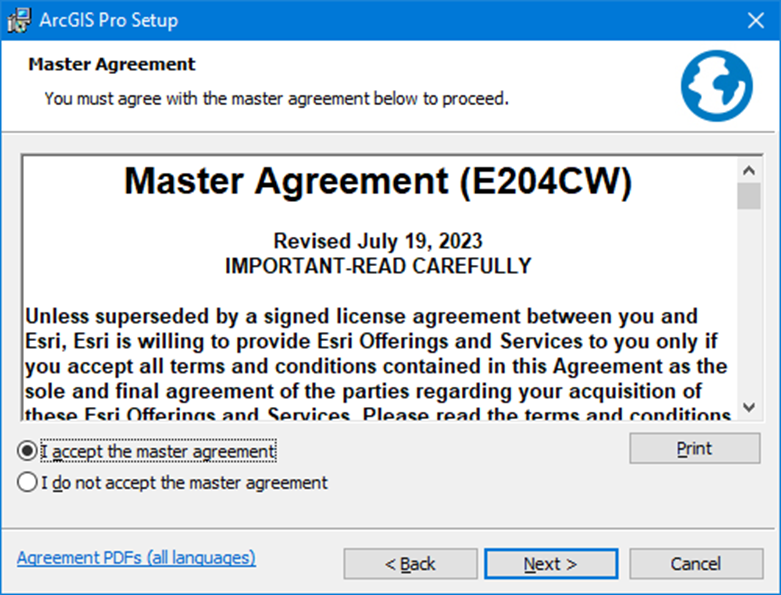
Step 5. At the Master Agreement screen, select I accept the master agreement and then click Next to continue.
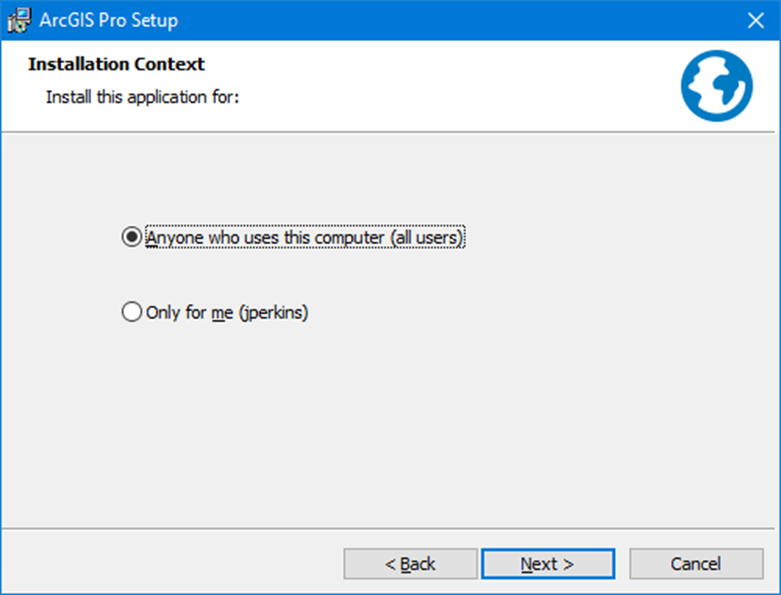
Step 6. At the Select Installation Context screen, select Anyone and then click Next to continue.
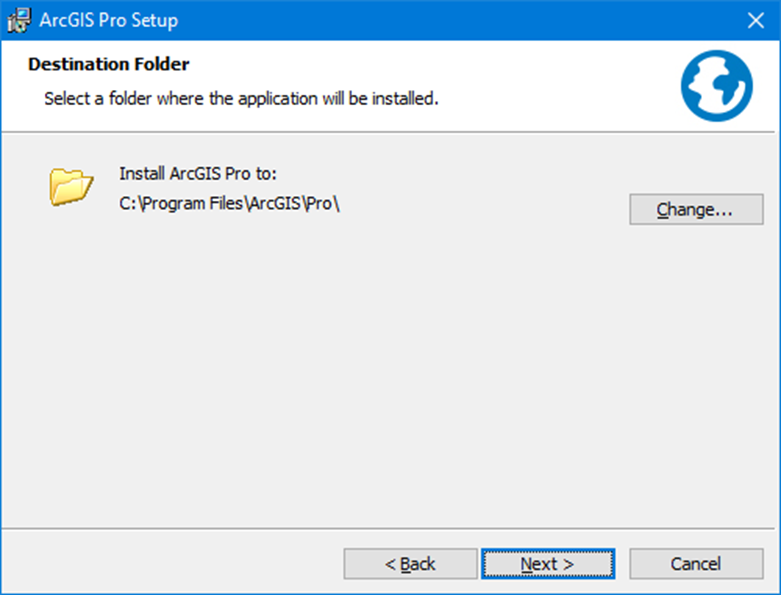
Step 7. At the Destination Folder screen click Next to continue.
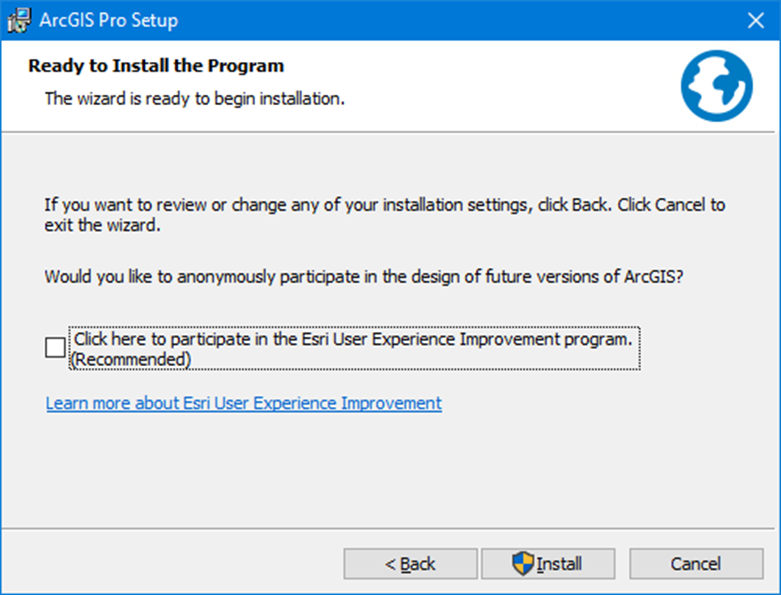
Step 8. At the Ready to Install the Program screen click Install to install the program.
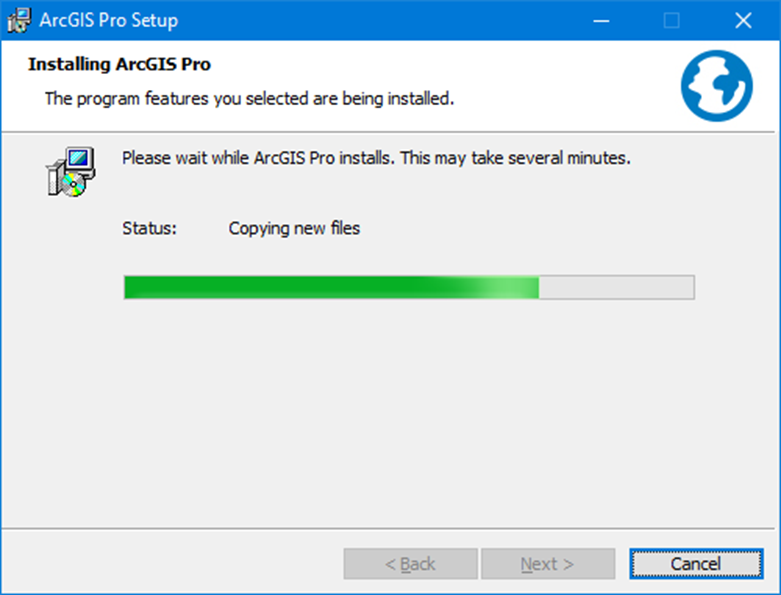
Step 9. ArcGIS will then install, when it has been successfully installed, click Finish.
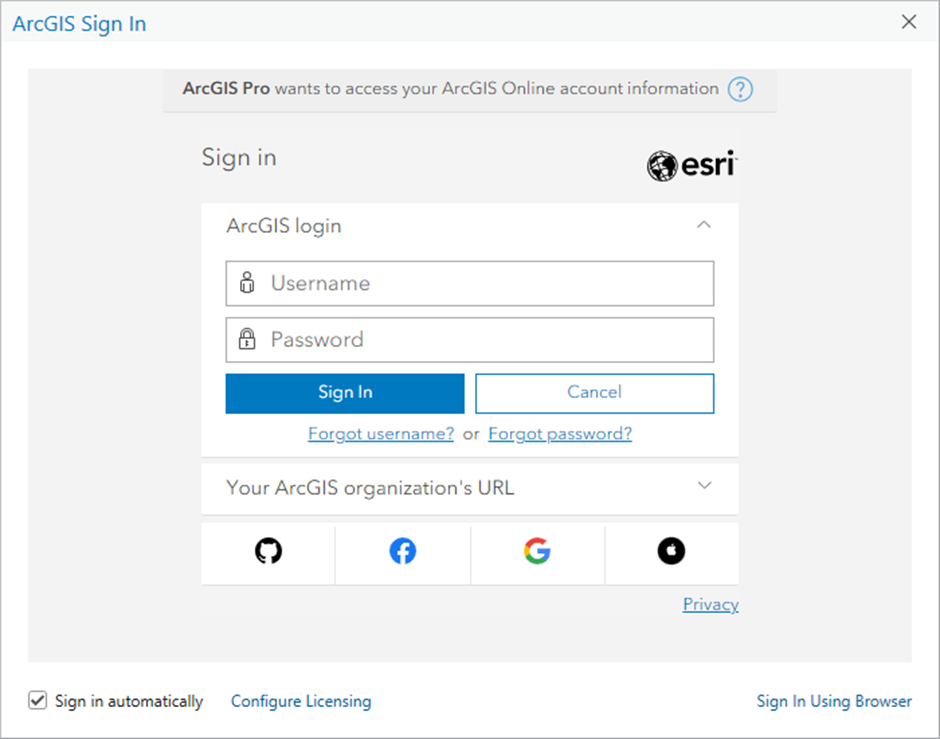
Step 10. ArcGIS will ask you to login. Click on "Your ArcGIS organization's URL"
Step 11. This will open the ArcGIS Sign In page.
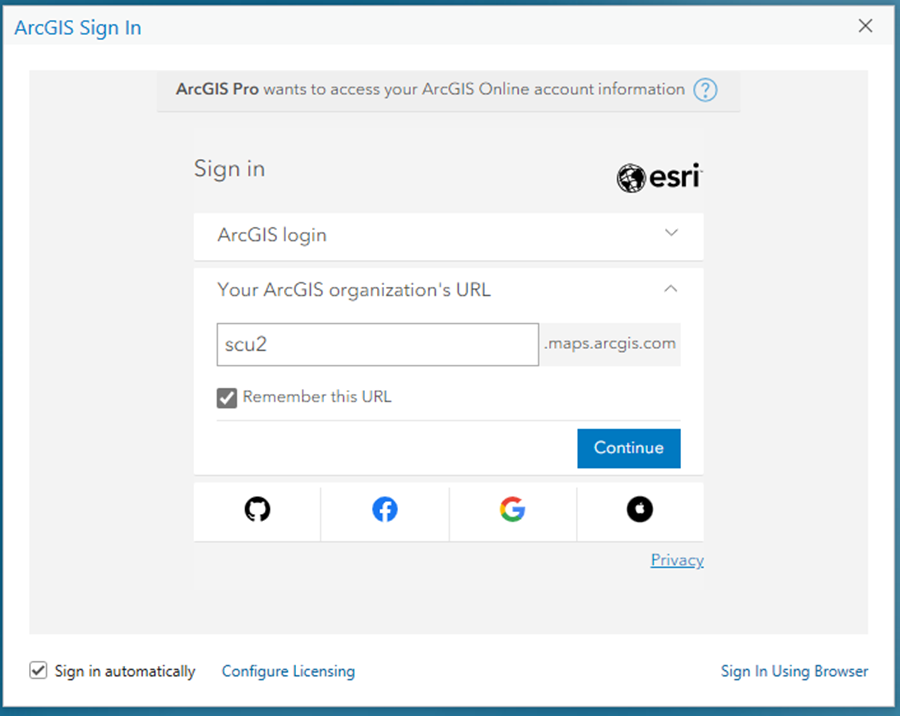
In the "Your ArcGIS organization's URL box enter scu2 and click continue.
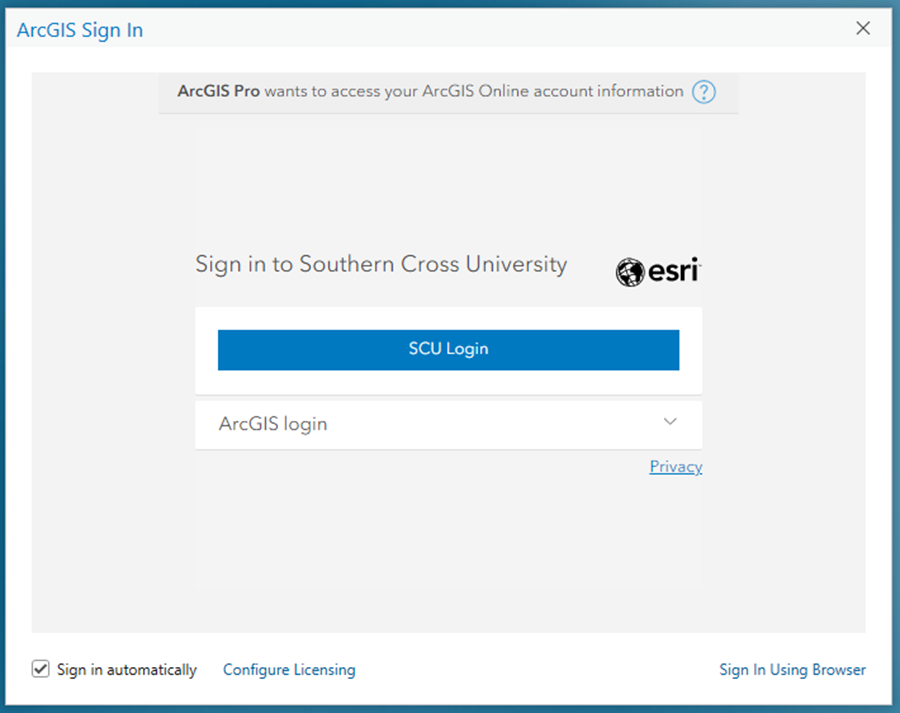
Step 12. Select SCU Login
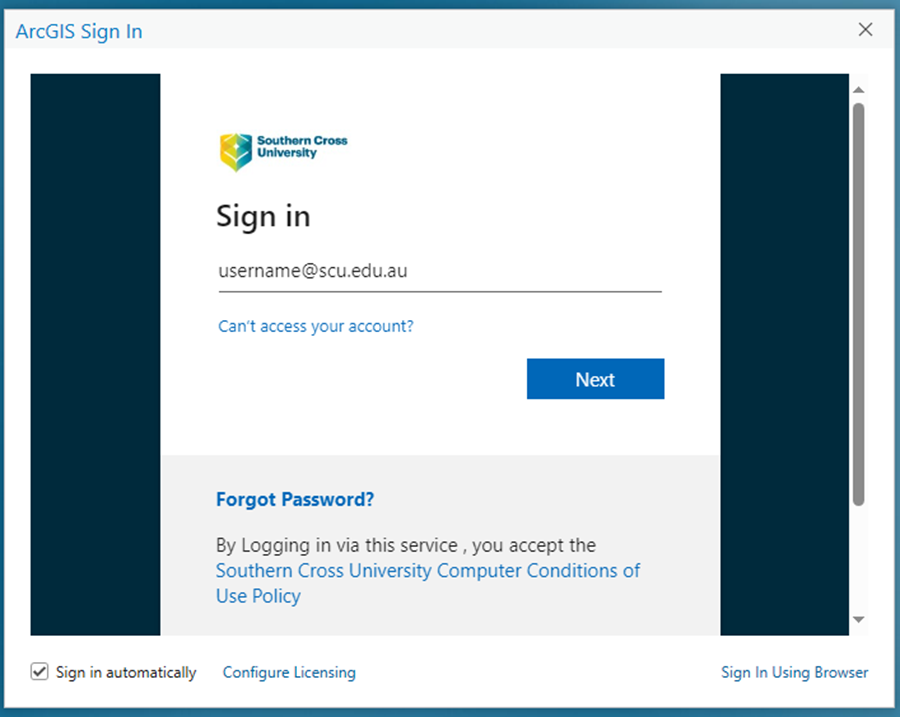
Step 13. Proceed to sign in with your SCU credentials.
